
Get started with the API
Dew’s API lets another system send files, collect files from people, follow what happens to them and manage users, using a token you create in System → Integrations. The API is part of every plan; reading the full audit log needs Enterprise.
You need:
- An admin account on Dew.
- The web address people open Dew on, such as
files.example.com. It’s listed in Settings → Domains.
1. Create a service account for the system
Section titled “1. Create a service account for the system”A service account is the identity another system uses in Dew. It sends and collects files under its own name, doesn’t count as a user on the license, and can’t sign in to the web app.
- Open System → Integrations and click New service account.
- Enter a Name, such as
Billing system. People who get files from this account see this name as the sender. - Optionally enter a Contact email, such as
billing@example.com. Replies to Dew’s emails go there, along with download receipts and emails about files people send. Without one, those emails aren’t sent. - Under Domains, choose the web addresses from Settings → Domains it may use. Its links and file requests go on these addresses, the activity feed shows what happens on them, and it can act for users who have one of them.
- Under Permissions, choose only what the system needs. The guide for each job below lists the permissions it uses, and Permissions lists them all.
- Click Create service account.
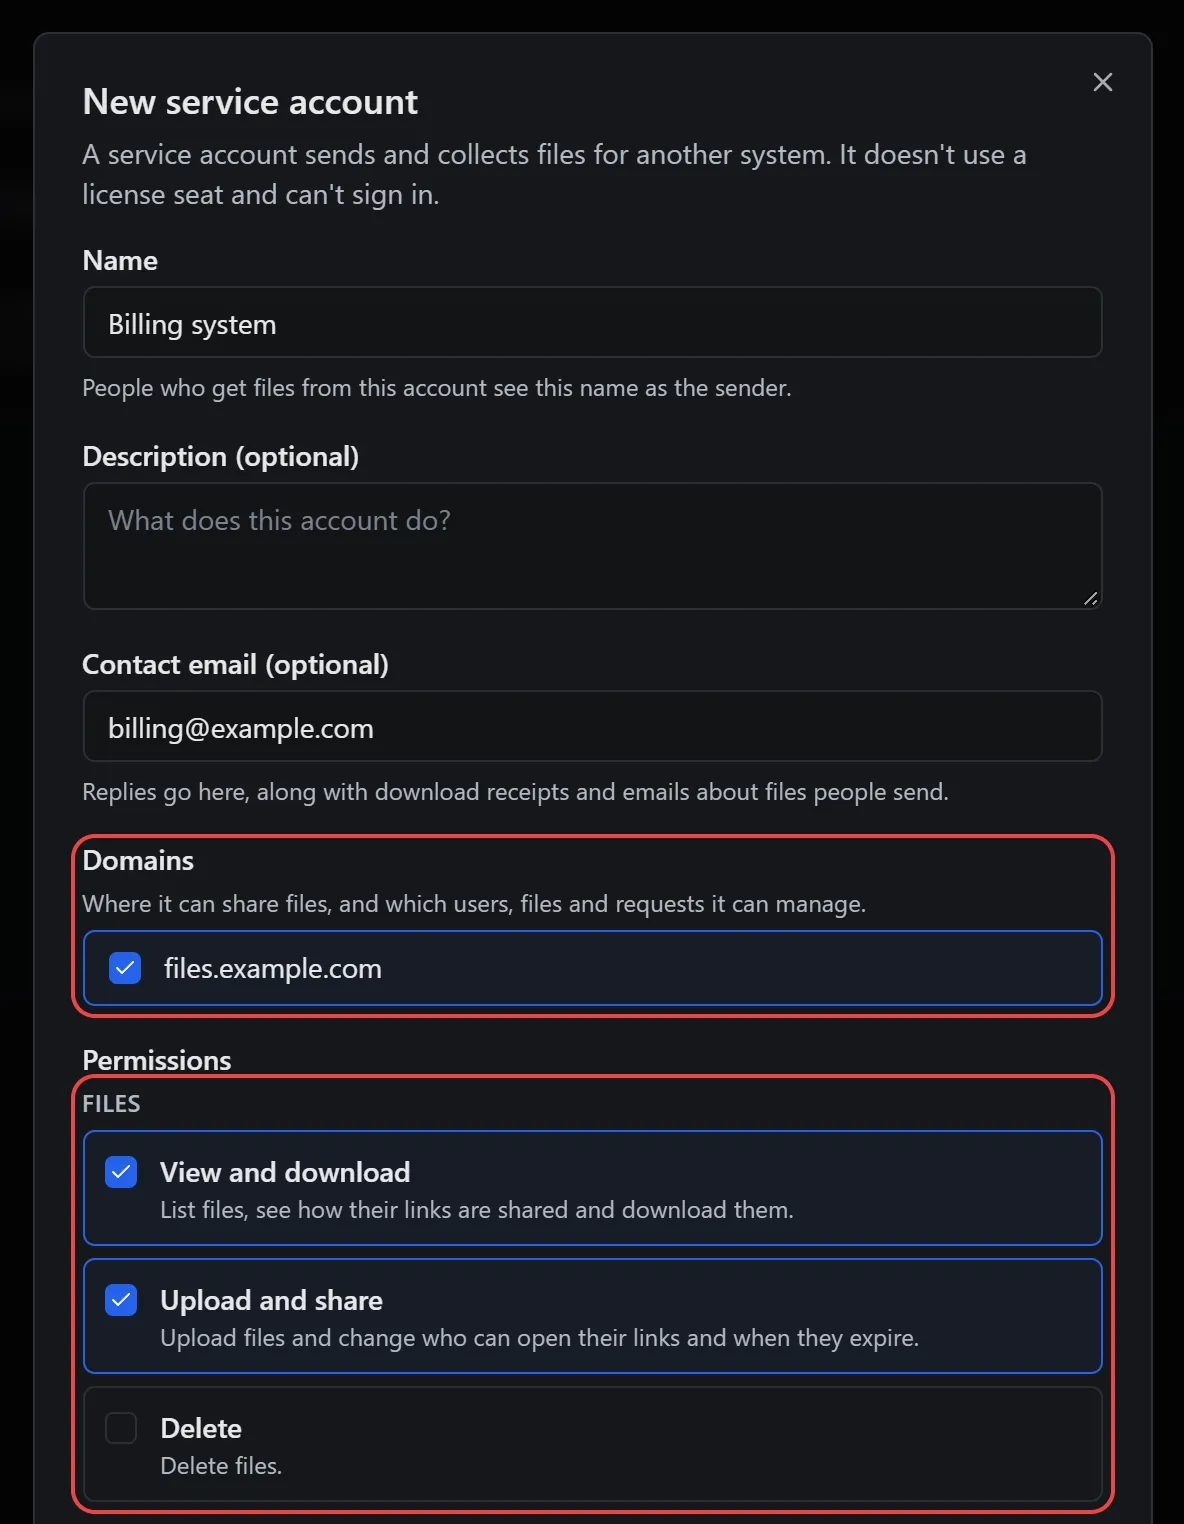
Give each system its own service account, so you can see and revoke each one separately.
2. Create a token
Section titled “2. Create a token”A token is the password the system sends with every request.
- On the service account’s page, click New token and name it, for example
Production. - Choose when it expires, or Never expires. Dew alerts admins a week before a token expires.
- Click Create token and copy the token, which starts with
dewsa_. Dew shows it only once.
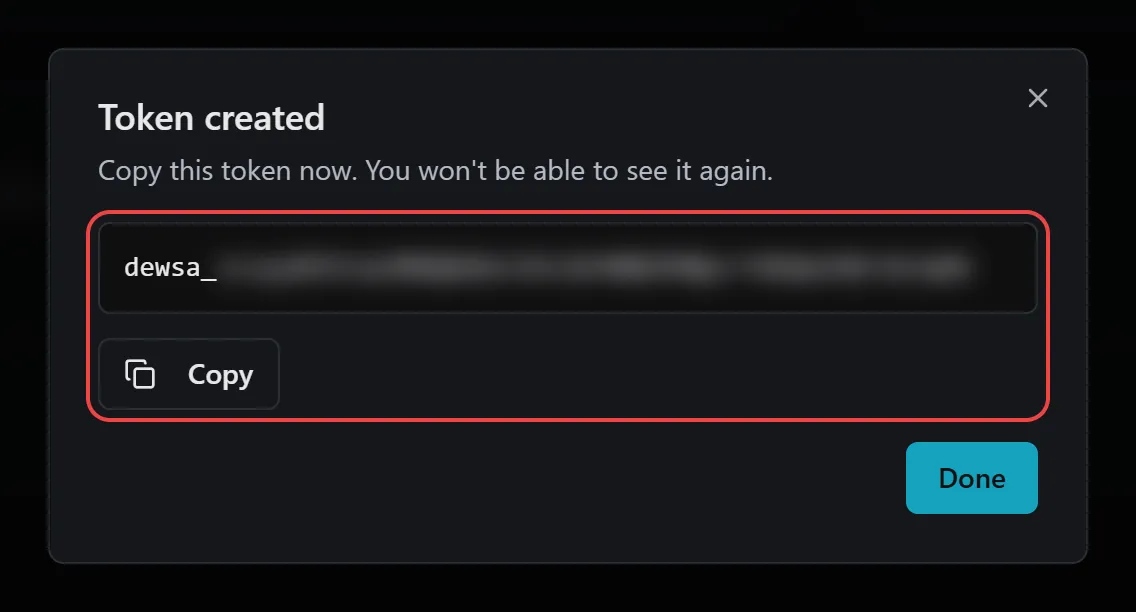
Store the token where the system keeps its secrets. To replace it without a gap, create a second token, switch the system over, then click ⋮ next to the old one and choose Revoke. If a token leaks, click ⋮ next to it and choose Regenerate: the token keeps its name, gets a new value and expiry date, and the old value stops working at once.
3. Send a first request
Section titled “3. Send a first request”Every request sends the token in the Authorization header:
This lists the service account’s files: {"success":true,"data":[]} before it has sent any. Every response has this shape: success, data, and on failure error and a readable message. On a server error the response also has a ref, such as REF-a3f8b2c1, which your admin can look up in System → System → Error logs.
What you can do next
Section titled “What you can do next”Dew doesn’t push events to your system; it keeps an activity feed your system reads every minute or so. Each guide covers one job from start to finish:
- Send files from another system, such as invoices from a billing system or reports from a scheduled job.
- Send large files from a script in chunks that resume after a dropped connection.
- Collect files into another system: ask people for files and pull what they send into your case or document system.
- React to uploads and downloads with the activity feed.
- Act for a user, so requests and links belong to the person handling them.
- Manage users from another system.
- Monitor Dew from your monitoring tool.
- Use your own files from scripts with a personal token.
- Send audit logs to a SIEM (Enterprise).
The API reference lists every endpoint a token can call. The same reference is available as an OpenAPI file for Postman and code generators.